On scorching days, nothing makes more of a difference for your comfort than an AC that’s working at its best. One often-overlooked component that plays a significant role in your AC’s performance is the blower motor resistor, and issues with this component can impact your entire AC system.
Join us as we walk you through what a blower motor resistor is, how it impacts your home’s AC, and, most importantly, the warning signs of a failing resistor. We’ll also share some insights on how to replace it if needed, helping you stay cool and comfortable in your home!
What Is A Blower Motor Resistor?
Before we look at the signs of a bad blower motor resistor, let’s get to know this vital component and its role in your residential AC system.
Think of the blower motor resistor as the conductor of your AC’s airflow orchestra. It’s responsible for controlling the speed of the blower fan, which, in turn, regulates the airflow through your home’s HVAC (Heating, Ventilation, and Air Conditioning) system. This control is achieved by altering the electrical resistance in the circuit, allowing you to adjust the fan’s speed based on your comfort preferences. Issues with your blower motor resistor can seriously affect the comfort of your home. Fast and reliable AC repair is essential when your blower motor resistor is acting up!
Does A Blower Motor Affect AC?
The blower motor plays a pivotal role in your home’s AC system. The blower motor draws in warm air from your home, passes it through the evaporator coil to cool it down, and then circulates the chilled air throughout your living spaces.
When you adjust the thermostat to change the desired temperature, the blower motor responds by varying the mix of cool and warm air to achieve the set temperature.
Proper airflow is essential for controlling indoor humidity levels and preventing bad air quality. The blower motor ensures that moisture is removed from the air, helping maintain a comfortable environment. Your AC system relies on the blower motor to move air through the filters, trapping dust, allergens, and pollutants, which helps improve indoor air quality.
How To Tell If A Blower Motor Resistor Is Bad
Now that we understand the importance of a blower motor resistor, let’s explore some telltale signs that indicate it might be on the fritz:
Inconsistent Airflow: If you notice that the airflow from your vents is weaker than usual or fluctuates unexpectedly, it’s a strong indicator that the blower motor resistor might be struggling.
Limited Fan Speeds: A malfunctioning resistor can lead to the fan operating at only one or two speeds or not responding to your settings at all. This can make it challenging to make your home colder.
No Airflow: The most obvious sign of a bad resistor is when the blower fan stops working entirely, leaving you with no airflow through your vents.
Unusual Noises: If you hear strange noises like rattling or buzzing coming from your HVAC system, it could be due to a malfunctioning blower motor.
Uneven Cooling: A bad resistor may result in uneven cooling throughout your home. Some rooms may feel excessively cold while others remain too warm.
High Energy Bills: A struggling blower motor resistor can make your AC system work harder, leading to increased energy consumption and higher utility bills.
How To Replace A Blower Motor
If you’ve identified one or more of these warning signs, it’s time to consider replacing the blower motor resistor. Here’s a general overview of the steps involved:
Turn Off the Power: As a safety precaution, turn off the power to your HVAC system. Locate the breaker or switch that controls the AC and switch it off.
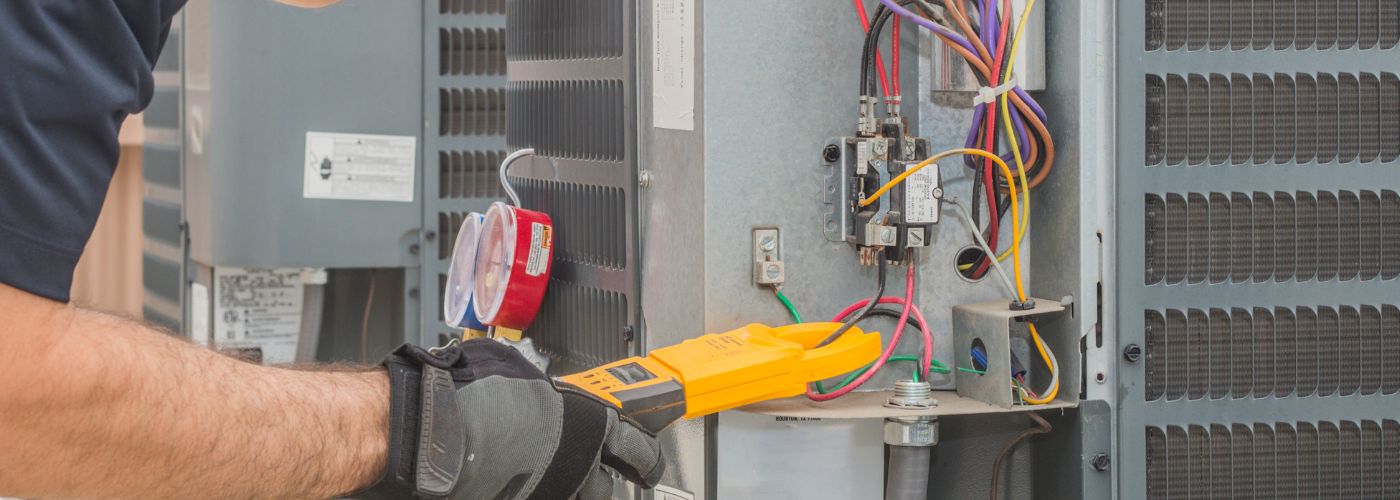
Access the Resistor: Depending on your HVAC system’s design, you may need to remove panels to reach the blower motor resistor.
Unplug the Wiring: Carefully disconnect the wiring harness from the old resistor. Take note of the wire colors and their positions.
Remove the Old Resistor: The old resistor is typically secured with screws or clips. Remove these fasteners to release the resistor.
Install the New Resistor: Position the new resistor in place and secure it using the appropriate fasteners.
Reconnect the Wiring: Attach the wiring harness to the new resistor, ensuring that the wires are connected to the correct terminals.
Reassemble Panels: If you removed any panels or covers, put them back in place.
Turn On the Power: Turn the power back on to your HVAC system and test the blower fan to ensure it’s working correctly.
If you’re unsure about any of these steps, it’s always wise to consult a professional HVAC technician.
If you ever experience any of the symptoms mentioned, don’t hesitate to address the issue promptly to avoid discomfort and unnecessary energy expenses. Your home’s comfort is worth it!